使用FileZilla的时候,很多小伙伴不知道怎么允许续传ASCII文件,下面小编就给大家带来FileZilla允许续传ASCII文件教程,有需要的小伙伴不要错过哦。
FileZilla怎么允许续传ASCII文件?FileZilla允许续传ASCII文件教程
1、首先点击“FileZilla”。

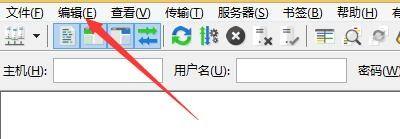
2、然后在“FileZilla”窗口中,点击“编辑”。
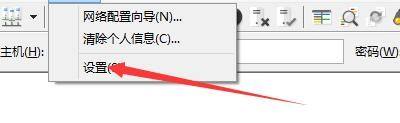
3、在弹出下拉栏中,点击“设置”。
4、接着在“设置”窗口中,点击“对已存在文件的操作”。

5、在“对已存在在文件的操作”窗口中,勾选“允许续传ASCII文件”。

6、最后点击“确定”即可。

以上这篇文章就是FileZilla允许续传ASCII文件教程,更多教程尽在下载之家。