小伙伴们知道BlueStacks如何导入电脑图片吗?今天小编就来讲解BlueStacks导入电脑图片的方法,感兴趣的快跟小编一起来看看吧,希望能够帮助到大家。
BlueStacks如何导入电脑图片?BlueStacks导入电脑图片的方法
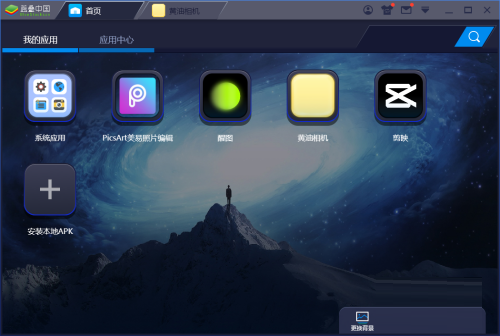
第一步:首先打开bluestacks。
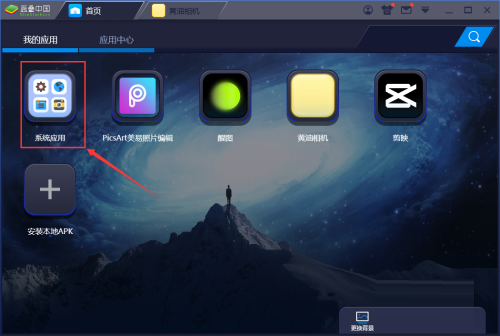
第二步:点击屏幕中的【系统应用】。
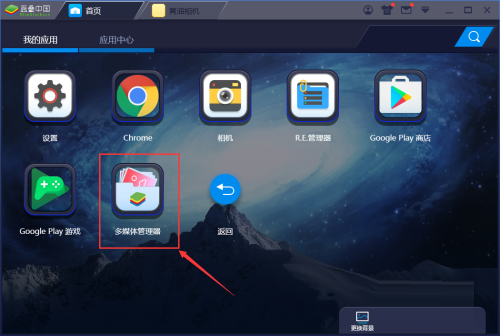
第三步:点击【多媒体管理器】。
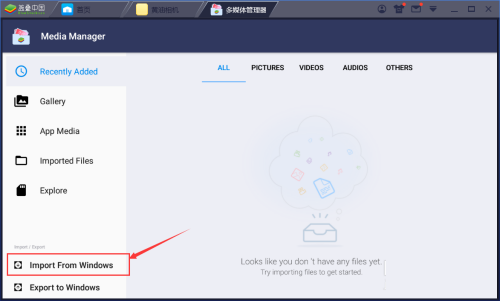
第四步:点击【import from windows】。
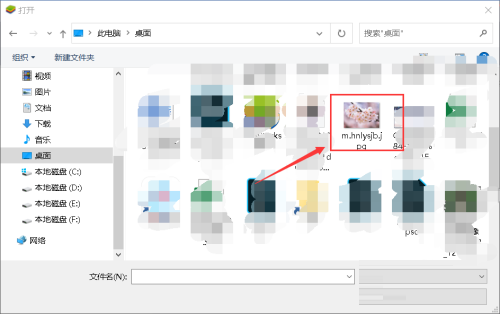
第五步:选择要导入的图片。
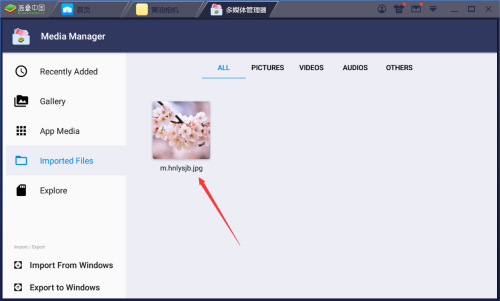
第六步:如图所示,图片就导入到bluestacks中了。
以上就是给大家分享的BlueStacks如何导入电脑图片的全部内容,更多精彩内容尽在下载之家!