今天小编为大家带来了Photoshop占位符图框使用方法,想知道怎么做的小伙伴来看看接下来的这篇文章吧,相信一定会帮到你们的。
Photoshop占位符图框怎么使用?Photoshop占位符图框使用方法
1、首先打开photoshop,按K键激活图框工具,在属性栏中点击选中圆形占位符。
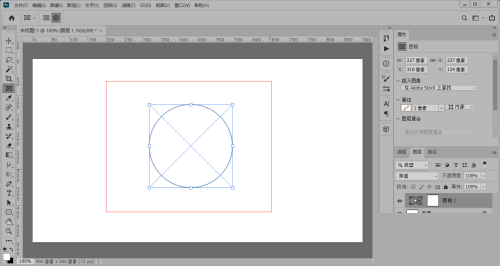
2、然后按住Shift键,点住鼠标左键在画布上画一个占位符。
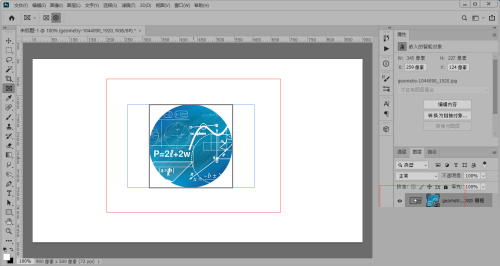
3、接着从photoshop窗口外拖入一张图片放置到圆形占位符上,图片就被剪切为圆形。
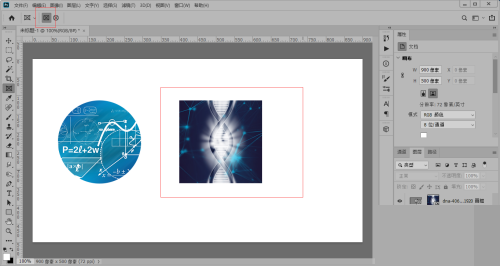
4、最后当我们在属性栏中点击选中的是矩形占位符,拖入的图片就被裁剪为矩形。
希望此教程能帮到大家!更多教程请关注下载之家!