很多小伙伴在使用hbuilderx的时候,想知道怎么设置div标签分栏显示,下面小编就为大家分享hbuilderx设置div标签分栏显示教程,感兴趣的小伙伴不要错过哦!
hbuilderx怎么设置div标签分栏显示?hbuilderx设置div标签分栏显示教程
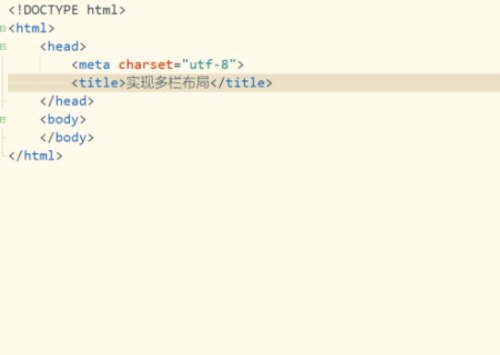
第一步,打开HBuilderX工具,创建web项目,然后新建文件。
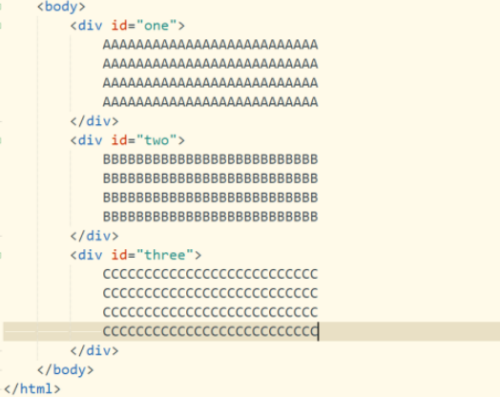
第二步,在标签中,插入三个div标签,分别设置不同的内容。
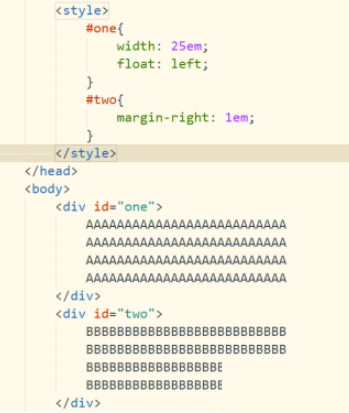
第三步,利用one和two ID选择器,设置对应的样式属性。
第四步,保存代码并运行页面文件,打开浏览器,查看界面效果。

第五步,再次添加设置第三个div标签的样式,分别添加background-color属性。

第六步,再次保存代码并刷新浏览器,可以看到界面出现了分栏。

谢谢大家的观看,更多精彩教程请关注下载之家!